
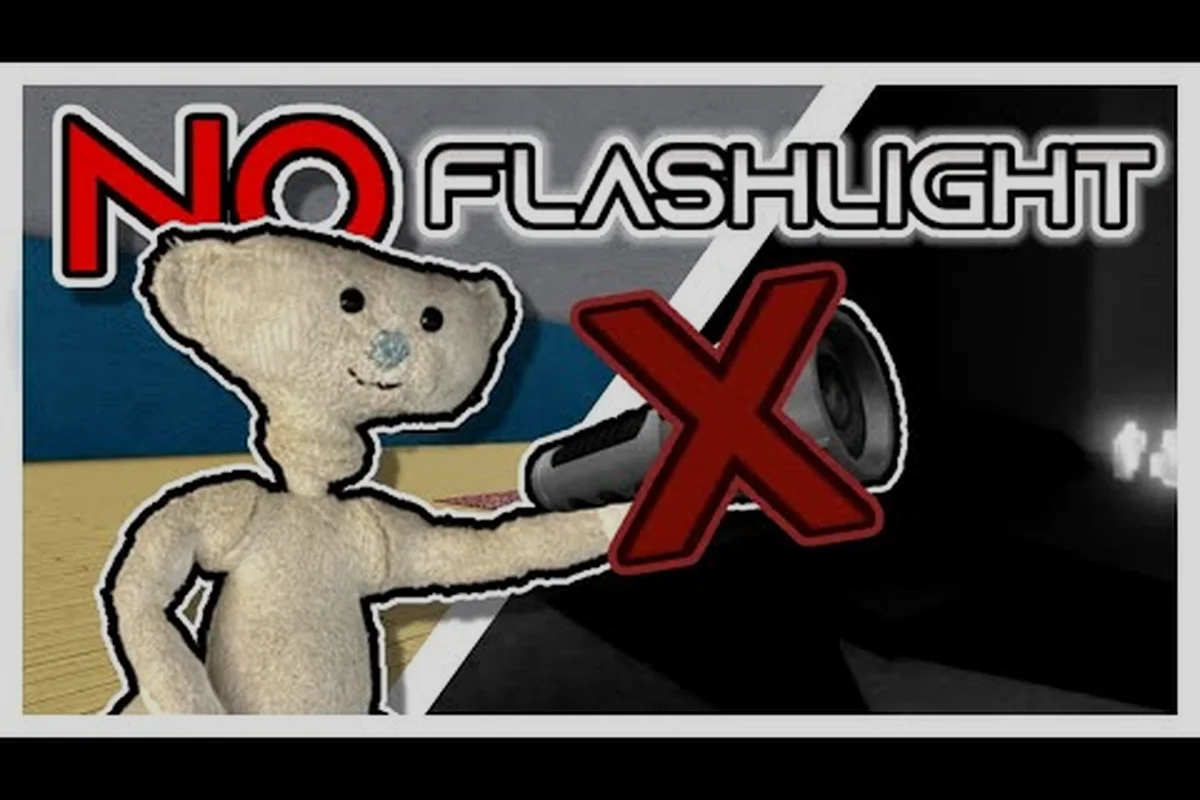
The bear alpha flashlight mechanic can determine whether survivors reach an exit or become the Bear’s next target. Battery drain rises with each use, while sprinting consumes stamina that players need for escaping the chase; repeated flashes can also accumulate permanent damage. Timing matters because illuminating the Bear or an escape route can reveal what is safe, but flashing at the wrong moment may expose a survivor’s position and undermine the round-timer escape plan.
Flashlight Basics and Why Light Matters
The bear alpha flashlight mechanic is best understood as a limited resource rather than a permanent combat advantage. A flashlight can reveal the Bear, nearby objectives, and safe routes, but its battery does not refill on demand. Holding the beam on for every corridor creates a dangerous trade: visibility improves while stamina recovery and escape options decline.
That trade matters because BEAR pits survivors against a pursuing Bear in a timed round. A single player may use light aggressively, while a team can distribute that cost by having one survivor scan and another preserve energy. The correct choice depends on the route, the remaining battery, and whether the objective is still active.
| Resource | Primary use | Cost of misuse | Best timing |
|---|---|---|---|
| Flashlight battery | Revealing routes and the Bear | Battery loss without useful progress | Short, purposeful scans |
| Stamina | Running, climbing, and escaping | Slower recovery and less pursuit endurance | Save before noise draws attention |
| Permanent damage | Surviving injuries that cannot be undone | A mistake may become fatal later | Avoid hits whenever possible |
| Round timer | Finishing objectives before time expires | Failed objectives and an extended chase | Keep movement efficient |
Light Versus No Light
Running without a flashlight is a legitimate strategy, not a default challenge setting. Player-created runs such as CroutonZ’s BEAR no-flashlight gameplay video demonstrate that survivors can complete objectives without continuous illumination. However, those reports are community examples rather than an official rules page.
Darkness offers two main benefits: the battery remains available for emergencies, and the Bear may have fewer obvious visual cues about the survivor’s position. The drawback is slower map reading, especially when routes branch, obstacles are difficult to identify, or survivors need to confirm that an objective is usable.
| Approach | Visibility | Battery preservation | Stamina benefit | Main risk |
|---|---|---|---|---|
| Continuous light | High | Poor | None | Easy to track |
| Intermittent scanning | Medium | Good | Moderate | Missed movement cues |
| Darkness with memory | Low | Excellent | Moderate | Navigation errors |
| Emergency burst | Low until used | Very good | Depends on timing | Too little information |
Battery Management Principles
Treat battery as a finite emergency reserve. A player who flashes constantly may feel informed but eventually reach the objective with no way to verify the final approach. A better policy is to use light only when it changes the next decision: checking a doorway, confirming the Bear’s position, or locating an interactable objective.
The community video “I Played Bear (Alpha) With NO Flashlight” is useful for observing deliberate darkness, while the Roblox DevForum discussion about building a game similar to BEAR places its one-versus-many design in broader community context. Neither source provides official battery values, so exact drain rates remain community-dependent and may vary by version.
Stamina Demands and Permanent Damage
The bear alpha stamina system governs more than sprint speed. Stamina is the bridge between using the flashlight safely and escaping after a mistake. When a survivor runs, climbs, dodges, or reacts to the Bear, the stamina pool becomes the practical limit on how much danger the player can absorb before being forced to slow down.
Community-reported gameplay repeatedly highlights stamina and permanent damage as central parts of the survivor experience. The important lesson is that healing does not erase every mistake. If injury carries into later rounds or later portions of the same run, one collision can reduce the team’s options. For broader preparation, the survivor loadout guide explains how equipment priorities should support escape rather than prolonged confrontation.
Stamina Costs Across Actions
Because no verified official stamina-cost table is available for BEAR ALPHA, specific percentages for the bear alpha stamina system should not be presented as fixed rules. Compare the actions in the table by their observable effect instead: full sprint and panic escape demand more stamina, while flashlight scanning can reveal a route with little direct cost when the survivor stops to use it. Treat the remaining stamina as an escape reserve, since a nearly empty bar can leave no capacity to sprint across exposed ground before the Bear closes in.
| Action | Likely stamina demand | Strategic purpose | Better alternative |
|---|---|---|---|
| Full sprint | High | Cross exposed ground | Short sprint between cover |
| Flashlight scanning | Low directly, indirect cost while running | Gather route information | Scan while stationary |
| Crouch movement | Low | Move quietly near the Bear | Use safer, slower routes |
| Rapid direction change | Medium | Dodge a pursuit angle | Change course before being seen |
| Panic escape | High | Reach immediate safety | Use a planned escape route |
The stamina reserve should be treated as a safety margin. If it is nearly empty when the Bear appears, the player may be unable to sprint through the next open section. Flashlight use is easier to manage when scanning does not coincide with repeated sprinting, because the survivor can stop, look, decide, and then move with a known destination.
Permanent Damage and Recovery
Permanent damage is more severe than temporary inconvenience because it changes what a survivor can safely attempt later. Rather than asking whether a route is possible, ask whether it is possible with the condition the survivor already carries. A damaged survivor should prioritize shorter routes, stronger cover, and team support rather than stopping to challenge the Bear.
| Situation | Risk multiplier | Damage concern | Recommended response |
|---|---|---|---|
| Healthy survivor with full stamina | Baseline | Low immediate risk | Scout and rotate |
| Slightly injured survivor | Elevated | Later actions may be limited | Use cover and avoid chases |
| Severely injured survivor | High | One mistake may end the run | Favor objectives and exits |
| Nearly empty stamina | High | Slower escape | Do not linger with light on |
Players should also separate current health from permanent damage. A character may still be alive while carrying consequences that make long objectives dangerous. This is why knowing the objective location and the bear alpha escape conditions can be more valuable than collecting minor resources that keep the survivor in danger.
Timing the Bear Alpha Round Timer
The bear alpha round timer sets the pressure behind every lighting decision. A flashlight can shorten navigation time, but it can also encourage players to enter areas they would otherwise avoid. The strongest strategy is not to maximize light; it is to reduce the total time spent in uncertain spaces while preserving enough battery and stamina to handle an unexpected chase.
Players who understand the round structure can plan around the likely final phase instead of reacting late. The BEAR gameplay-loop overview explains how objectives, difficulty scaling, and the night cycle fit around the survivor’s progress.
Activity Timers and Decision Windows
Divide a round into three practical windows: information gathering, objective execution, and escape. The Bear can change location between these phases, so the survivor should always preserve one viable retreat. A long route with several lockable sections may be safer than a direct path through the Bear’s most active area.
| Round phase | Flashlight policy | Stamina policy | Primary objective |
|---|---|---|---|
| Early search | Scan selectively | Keep most stamina | Locate objectives |
| Objective interaction | Use brief confirmation pulses | Hold sprint reserve | Complete required actions |
| Rotation | Scan junctions and exits | Avoid unnecessary sprints | Reach the next area |
| Final approach | Use the lightest reliable check | Preserve escape burst | Enter the exit route |
| Active chase | Flash only if it changes direction | Sprint strategically | Break line of sight |
The timer also affects team behavior. One survivor may need to create a distraction while another reaches an exit, but splitting attention can leave both players exhausted. Before committing to a route, identify who will carry the flashlight, who will handle interactions, and what signal will warn the team that the Bear is nearby.
Objectives Versus Unnecessary Exploration
Exploration is useful only when it leads to a survivor victory condition. With the Bear Alpha flashlight mechanic active, every extra scan can consume battery and stamina while the round timer continues, so searching side rooms without a confirmed objective or exit can turn a useful detour into a failed escape. Before committing to a room, compare its expected value with the cost of returning to the main route: a room that reveals a safe hiding mechanic or an escape-condition clue may justify the detour, while an unverified dead end should be abandoned immediately.
-
Does this route lead to an active objective or a known exit?
-
Is there a faster route if the current path is blocked?
-
Can the player see the next safe point without committing to a long scan?
If the answer to all three is no, the correct action is to keep moving. The round guide is useful for reviewing the sequence of play, but individual survival decisions still depend on team equipment and the current Bear’s behavior.
Escape Routes and Hiding Mechanics
A flashlight does not create an escape route by itself. It helps identify one, yet it can also expose the survivor while that route is being searched. Effective escape planning begins with location, because a dark hiding place is more valuable when the survivor knows how to leave it quickly and where the flashlight is pointing.
Bear alpha hiding mechanics should be used to reduce pursuit pressure rather than to avoid objectives indefinitely. If hiding becomes the only plan, the round timer can expire or teammates may fail their tasks. The survivor guide expands on routes, hiding spots, and timer survival.
Hiding Versus Moving
| Situation | Hide | Keep moving | Best reason |
|---|---|---|---|
| Bear saw the survivor enter cover | Yes | No | Break immediate pursuit |
| Bear is searching another area | No | Yes | Exploit the distance |
| Objective is nearby and reachable | No | Yes | Reduce lost timer time |
| Stamina is nearly empty | Possibly | Carefully | Avoid an impossible sprint |
| Exit route is open | No | Yes | Convert survival into victory |
| Escape condition | Requirement | Flashlight role | Best practice |
|---|---|---|---|
| Exit reached | Access to the exit | Confirm the doorway | Brief scan before entry |
| Objective completed | All required tasks done | Locate the last interaction | Save power for the final area |
| Pursuit broken | Distance and cover secured | Check the Bear’s position | Turn away without prolonged staring |
| Round survived | Survive until the timer resolves | Preserve resources | Avoid unnecessary confrontation |
Community runs can provide useful examples of route discipline, including the no-flashlight challenge footage. Because these are player-created demonstrations, they should be treated as practical observations rather than guaranteed proof of exact mechanics.
Distance Checks Without Exposing the Player
A useful scan is short, directional, and followed by a clear action. Sweep the corridor, identify whether the Bear is visible, then either proceed or conceal. Avoid repeatedly resting the beam in one place, because a stationary survivor is easier to locate than one moving along a known route.
For team play, one person can monitor the rear while another checks the objective area. This reduces blind spots without requiring everyone to hold the light. It also preserves the bear alpha stamina system because only the designated observer pays the attention cost.
Practical Loadout and Flashlight Tactics
The strongest loadout is one that preserves the flashlight’s usefulness without making the survivor dependent on it. A survivor who cannot move safely in darkness may waste the battery during emergencies, while a survivor with strong mobility can use short light bursts to gather exactly the information needed. This is why the crouch and stealth mechanics guide can complement any flashlight plan.
Before the Round
Preparation starts by assigning the flashlight rather than letting every survivor compete for its use. The person carrying it should have a clear job: route confirmation, objective discovery, or emergency backup. A teammate can watch angles while the carrier moves, making it easier to conserve the beam.
| Preparation choice | Benefit | Limitation |
|---|---|---|
| One designated carrier | Prevents accidental double use | Carrier carries more responsibility |
| Shared access | Flexibility when the carrier is separated | Risk of wasted battery |
| Darkness-first route | Maximum resource preservation | Slower navigation |
| Light-first route | Faster early objective discovery | Greater early detection risk |
Agree on emergency signals before the round begins, but avoid signals that require voice chat. A single flashlight flash can mark danger or a downed survivor, while repeated flashing behaves like leaving the beam on: it drains the flashlight battery and reveals the carrier’s position to the bear alpha. Keep the code specific—for example, one flash for immediate danger and two short flashes for “hold position”—and use it only when the carrier has a clear escape route.
During the Round
Use a scan-plan: identify the next uncertainty, perform the smallest scan that resolves it, and move. This works well in corridors and rooms where the objective may be behind a corner. It works less well when the Bear is already visible, because the information gained is minimal compared with the exposure caused by continuing to shine the light.
| Situation | Flashlight response | Stamina response | Objective response |
|---|---|---|---|
| Unseen corridor | Brief scan | Stay still | Identify the route |
| Bear visible nearby | Extinguish or redirect | Prepare to move | Use cover |
| Objective found | Confirm interaction | Hold reserve | Complete it quickly |
| No exit visible | Short junction scan | Avoid sprinting | Reorient with team |
| Team separated | Signal once | Preserve enough to regroup | Meet at a known point |
Ending the Round Strongly
The final approach deserves the same discipline as the opening search. Check the exit, listen for movement, and avoid loitering where a survivor could be pinned between the Bear and a dead end. If the team has completed its objectives, the last light check should be brief and purposeful.
A successful survivor victory combines three outcomes: the objective is finished, the Bear is no longer an immediate threat, and the exit remains accessible. The bear alpha escape conditions may vary by round, but the underlying decision pattern remains consistent: preserve enough stamina for the last movement and enough battery for one final confirmation.
Common Flashlight Mistakes and Corrections
Most flashlight failures come from using the light continuously, revealing plans too early, or treating stamina as a resource that will return in time. These mistakes are easy to identify during a replay because the player keeps the beam on while running, stops in exposed locations, or commits to an objective without checking the exit.
| Mistake | Immediate cost | Longer-term cost | Correction |
|---|---|---|---|
| Leaving the light on while sprinting | Stamina drains without extra information | Weak escape reserve | Scan, then move dark |
| Flashlighting every junction | Battery drains early | No emergency pulse | Scan only when the route is unclear |
| Staring at the Bear | Survivor remains visible | Pursuit pressure increases | Break line of sight and relocate |
| Hiding after every noise | Objectives and timer are neglected | Team loses progress | Hide only when pursuit is immediate |
| Splitting up without a meeting point | Players become isolated | Rescue costs more stamina | Set one rendezvous point |
Diagnose a Failed Run
Review the final thirty seconds rather than only the cause of capture. Did the survivor panic-sprint with low stamina? Was the battery already empty when the exit appeared? Did the light reveal the player directly to the Bear? These details identify the system that failed: navigation efficiency, stamina management, or exposure control.
Community data from BEAR player experiences supports treating the flashlight as a supporting tool, not a permanent solution. Since exact drain, damage, and escape values are not available from a verified official wiki in the supplied sources, players should confirm current values through in-game testing and avoid treating community estimates as fixed constants.
Frequently Asked Questions
Does the BEAR flashlight refill during a round?
Community reports describe the flashlight as a limited resource whose battery drains during use, but the supplied sources do not provide an official refill rule. Treat battery as a reserve for necessary checks rather than assuming it will restore after an objective. If a current update changes this behavior, verify it through the live game.
Should survivors use the flashlight while running?
Usually not. Holding the light on while sprinting combines two costs: the beam can expose the survivor, and rapid movement consumes the stamina needed for a later escape. Flash briefly from cover, confirm the route or objective, then move with the light off when visibility permits.
Can permanent damage be ignored after an injury?
No. Permanent damage may limit what a survivor can safely attempt later, even if the character remains alive. Because exact recovery rules are not confirmed by an official source, reduce risk after an injury by favoring shorter routes, stronger cover, and objective completion over direct confrontation with the Bear.
What is the safest way to use the flashlight near the Bear?
Turn or extinguish the beam as soon as the Bear's position is confirmed, because prolonged illumination makes the survivor easier to track. Use a brief pulse only when movement information changes your next decision, then relocate through cover while preserving enough stamina for the escape route.
Does the flashlight alone determine survivor victory?
No. A survivor victory requires the round’s objectives and escape conditions to be satisfied. The flashlight can shorten navigation and reveal an exit, but overuse can waste battery, raise exposure, and reduce the stamina reserve needed to reach safety before the bear alpha round timer expires.