
Maps
BEAR map guides for Assembly, The Lost Tapes, The Final Hour, Happy Terror and Tears Before Bedtime — exits, puzzle spots and route notes.
Introduction
The Maps hub walks through every location in the BEAR (Alpha) rotation, focusing on the exits, hiding spots, puzzle points and route notes that decide matches. The current lineup includes Assembly, The Lost Tapes, The Final Hour, Happy Terror and Tears Before Bedtime — a mix of compact indoor arenas and open layouts, each with its own chase geometry. Understanding a map is the highest-leverage survivor skill: the same stamina and flashlight mechanics play completely differently on a tight interior than they do on an open site. This section breaks every map into objective placement, chokepoints where line-of-sight breaks are easy, exit lanes and the exact hiding spots that are actually safe when the Monstrosity sweeps the building.
Current Map Rotation
| Map | Style | Key Feature |
|---|---|---|
| Assembly | Compact indoor | Tight corners, easy line-of-sight breaks, close objectives |
| The Lost Tapes | Semi-open | Tape objectives, long sightlines, long hiding corridors |
| The Final Hour | Nighttime variant | Puzzle solving becomes the survivor win condition |
| Happy Terror | Classic revamp | Tape puzzle added to the keep-away layout |
| Tears Before Bedtime | Remake-era | Story set dressing and tight chase lanes |
Map Breakdowns
Assembly
The compact arena where new survivors learn the loop
The Lost Tapes
The newer tape-focused map with open sightlines and long corridors
The Final Hour
The nighttime variant where puzzles decide the round
Happy Terror
The revamped classic with a tape puzzle bolted onto keep-away
Tears Before Bedtime
The remake-era map known for story dressing and tight lanes
Core Mechanics
Every BEAR map is built around the same core loop — repair targets, solve the occasional puzzle, then escape — but the layout decides how hard that loop is. Compact maps like Assembly create tight corners and natural line-of-sight breaks but also narrow escape lanes that one bear patrol can lock down. Open maps such as The Lost Tapes give survivors long sightlines and fewer natural juke spots, so routing and door control matter more. Several maps layer puzzle steps — tape objectives, puzzle rooms or interactive props — on top of the standard repair. Finally, each map carries its own set of hiding spots, exit positions and looping routes, which the map guides document so you can plan before the timer starts.
Advantages
Investing in map knowledge pays enormous dividends because BEAR is positioning-driven. On a familiar map you know where the objective spawns will appear, which doors give clean line-of-sight breaks and exactly where the exit will unlock — that knowledge converts directly into faster routes and fewer dead ends. Map guides also flatten the learning curve: instead of dying ten times to discover Assembly's layout, you enter with the route already memorised and spend your early rounds practising the actual tricks. Because the map rotation is small, mastering these five maps covers most of your play time, and the same map notes reappear across badge hunting, treasure quests and event farming alike.
Challenges
Map guides face a few honest limitations. Layouts change with updates — event rotations, Deluxe reworks and remakes such as the newer Tears Before Bedtime have adjusted spawns, added puzzles and shifted exits, so a guide written before a patch can reference placements that no longer exist. Open maps are also harder to summarise, since long sightlines and wide grounds leave more routes that flatten into 'juking and hope'. Community-reported exit positions and puzzle spots should be treated as strong player knowledge rather than official blueprints — always confirm the objective markers in your own lobby before committing a full route. Reading the most recent map article keeps your notes aligned with the current rotation.
Frequently Asked Questions
Which map should a beginner start on?+
What is the difference between open and indoor maps?+
How do I find the exit quickly on any map?+
Are there hiding spots safe from the Monstrosity?+
Quick Tips
Learn one route on Assembly before touching open maps. The compact interior keeps objectives, hideouts and the exit close together, so a beginner's first hour is better spent memorising the objective loop than dying on The Lost Tapes' long sightlines. Run the same loop — objective, cover, exit — a few times until the doorways and chokepoints become automatic, and Assembly will hand you your first escapes. Once that route is in the bank, the map's tight geometry gives you natural line-of-sight breaks everywhere, which converts Assembly from a first-night tremble into one of the friendliest hiding spots in the game.
Note the exit lane on every map before the objective panel even changes. The exit position is in the HUD as the round opens, and a lot can change in the last thirty seconds — teammates fall, the bear shifts patrol and the timer gets loud. If you already know the exit direction, the final sprint turns from a panic guess into a planned line. On maps like Happy Terror with a tape puzzle on the classic layout, add the puzzle point to your pre-round notes as well, so the endgame route contains the exit and the last objective in a single clean loop.
Respect the open-map disadvantage instead of fighting it with raw speed. Community reports consistently note that open maps are harder to escape on because long sightlines let the Monstrosity close distance without a chokepoint to reset the chase. On The Lost Tapes and similar open layouts, route your repair so you always have a doorway, corridor or crate line between you and the bear's likely approach. When the chase starts, break line of sight immediately, then loop back through the part of the map you just cleared. Playing the geometry instead of sprinting in the open is the difference between escaping and donating another permanent-damage catch.
Featured
BEAR bear alpha maps list: Every Location and Difficulty
Browse the bear alpha maps list with difficulty ratings, map sizes, major risks, routes, puzzles, and practical details for every available location.

BEAR bear alpha final hour puzzles: All Solutions and Locations
Solve bear alpha final hour puzzles with exact locations, navigation callouts, and objectives for each indoor and outdoor challenge.
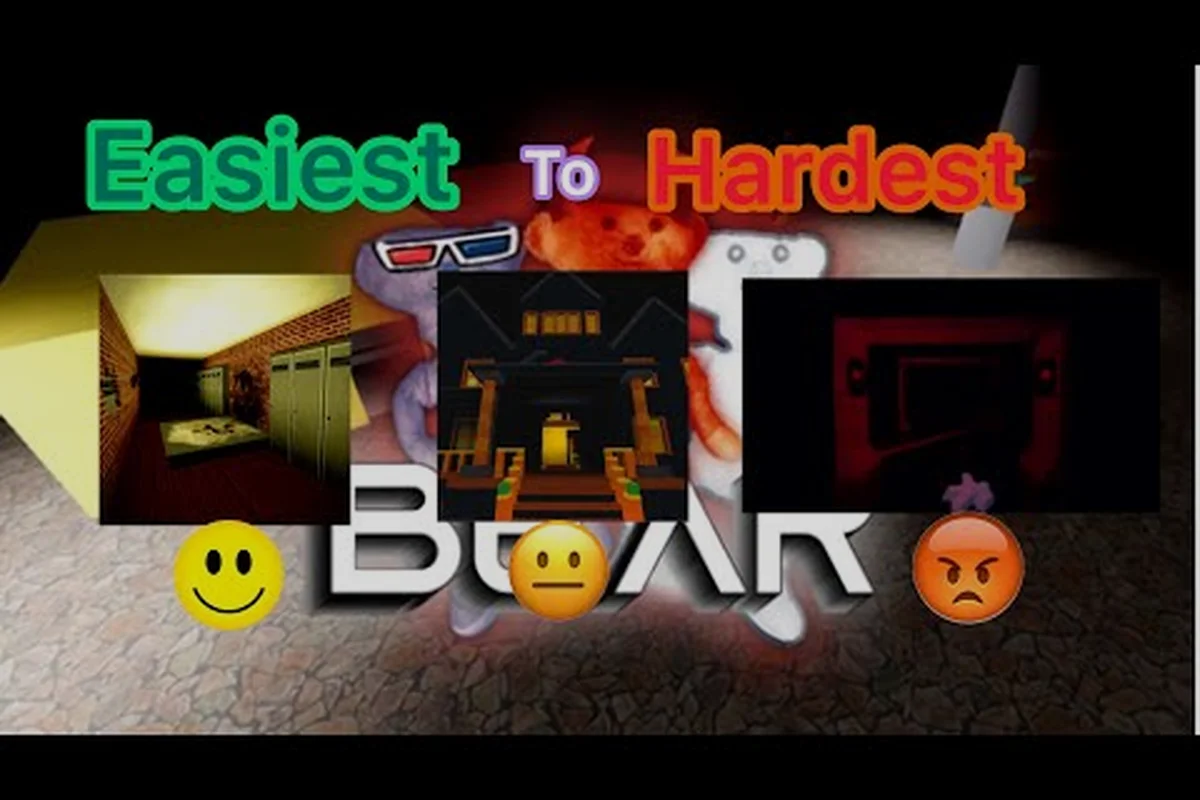
BEAR bear alpha hardest map: Ranked Routes, Secrets, and Exits
Conquer the bear alpha hardest map with ranked difficulty insights, spawn patterns, hidden secrets, exit locations, and safer survivor routes.
All Articles
BEAR bear alpha map layout: Assembly Routes and Landmarks
Explore the bear alpha map layout with Assembly landmarks, exits, puzzle paths, and route details for safer rotations.
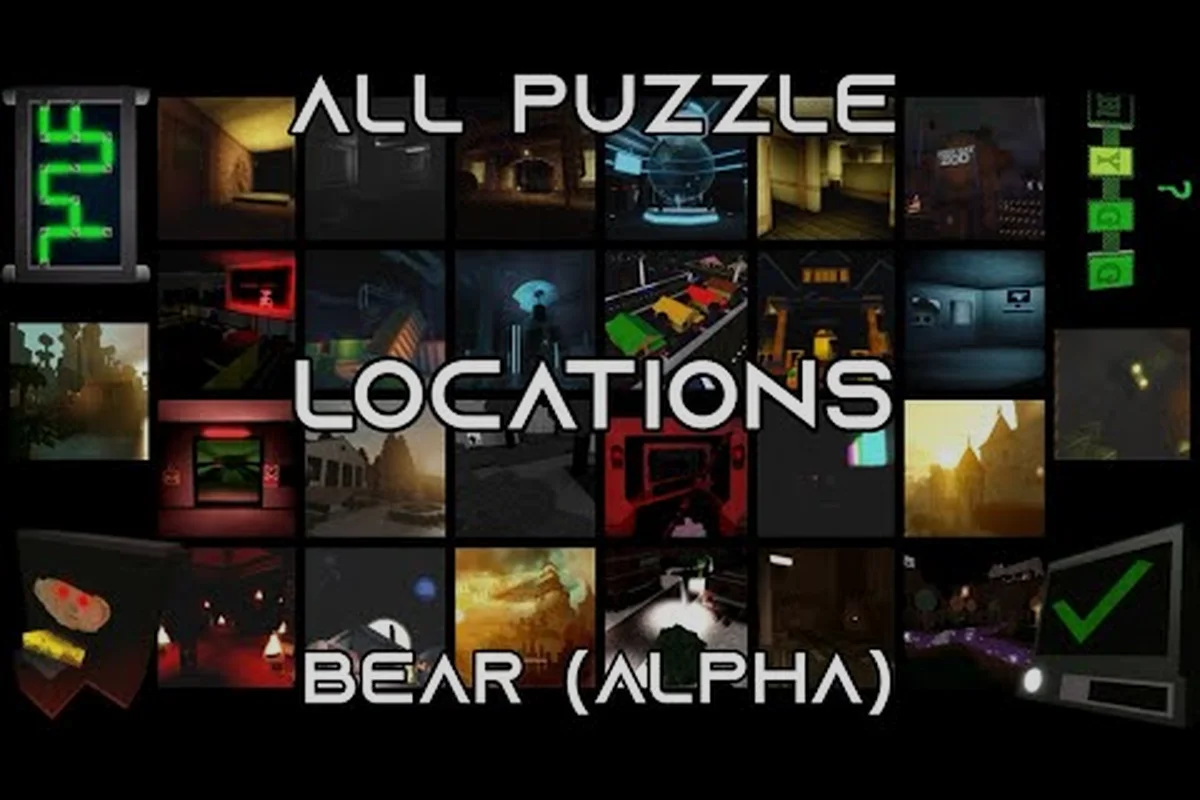
BEAR bear alpha map memory: Every Map and Puzzle Location
Build bear alpha map memory by reviewing every map, revamped area, puzzle location, and 2026 addition in one organized reference.
BEAR bear alpha the lost tapes guide: Secrets and Full Route
Master bear alpha the lost tapes guide with puzzle locations, map unlock details, The Hollow rewards, and route tips for Final Hour and other maps.