
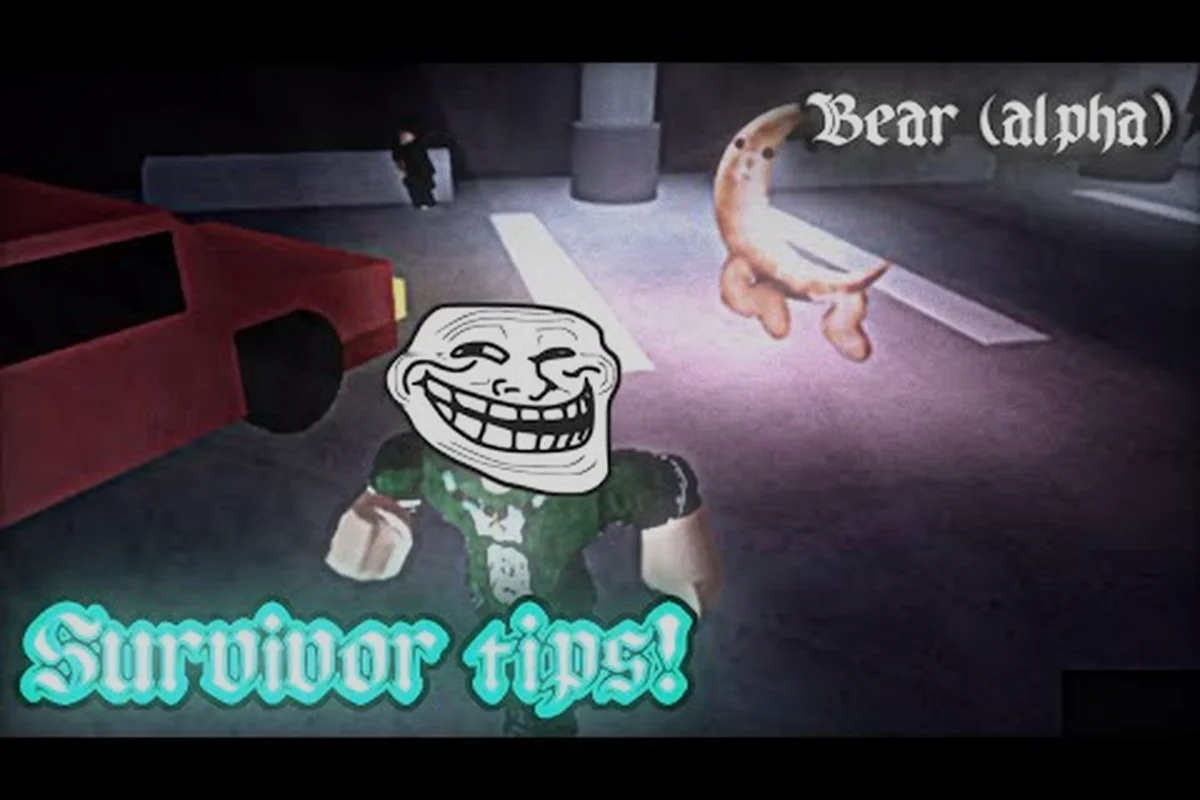
Surviving BEAR’s first night depends on reading danger early, protecting your stamina, and completing objectives without creating a trail for the Bear. This bear alpha beginner guide turns the game’s 1-versus-all structure into a practical routine for movement, hiding, and smart decisions.
Bear Alpha Beginner Guide: Build a Survival Routine
BEAR (Alpha) is a Roblox survival-horror game built around a simple role structure: survivors complete objectives while the Bear hunts them. The official BEAR game page identifies it as a 10-player server with a 1-versus-all format, so every sound, flash, or open path can affect the entire group.
A beginner should begin with three habits rather than trying to solve the map immediately: move in short bursts, stay near useful objects, and watch the minimap before entering a structure. These habits reduce wasted stamina and make it harder for the Bear to predict your next move.
First-session priorities
Before making your first move in BEAR, identify your role, note where the Bear appears to originate, and choose one nearby objective instead of scattering across the map. For example, if a marked task is only one short sprint away, approach it cautiously, listen for movement cues, and keep a clear retreat path; if the route crosses an open corridor, wait for cover or another survivor to distract the Bear before crossing. This reduces wasted stamina, prevents noisy flashlight use, and gives the group time to react without duplicating the specific priorities listed below.
-
Learn the opening route: Identify where objectives are located and which paths connect them.
-
Control movement speed: Sprint when a threat is visible, but walk between nearby objectives.
-
Preserve stamina: Treat a full stamina bar as an emergency resource rather than a permanent ability.
-
Break line of sight: A corner, closed doorway, or indoor transition can erase your trail more effectively than running in a straight line.
-
Share useful information: Call out the Bear’s direction, objective progress, and dangerous routes without repeatedly announcing your exact position.
| Beginner priority | Why it helps | Better beginner choice |
|---|---|---|
| Objective awareness | Prevents aimless wandering | Visit one marked task at a time |
| Stamina control | Keeps escape options available | Walk between nearby tasks |
| Hiding discipline | Reduces the time you remain exposed | Break sightlines behind structures |
| Flashlight management | Limits visual and noise cues | Use short, purposeful beams |
| Group communication | Helps everyone react to danger | Report direction, not panic |
This bear alpha tutorial is intentionally built around repeatable decisions rather than memorization. Player-made guides such as this Roblox BEAR survivor tips video can help demonstrate how flashlight discipline and escape routes work in practice, although individual routes should still be confirmed against the current version.
Bear Alpha How to Play: Movement, Stamina, and Awareness
Surviving as a survivor in BEAR (Alpha) requires more than knowing where to run. Sprinting continuously raises your noise footprint and drains stamina, so a sudden sprint near a high-traffic route can expose your position to a patrolling bear even when your path looks clear. Stamina determines whether you can escape, vault obstacles, or recover from a missed climb, making deliberate walking and short movement bursts more reliable than constant running. Quiet actions also preserve stamina and reduce detection, giving you time to listen, observe movement, and choose a safer route instead of reacting only when the bear is already close.
The Hidden Cost of Sprinting
Running is the most obvious answer to danger, but it also produces repeated footsteps and creates a predictable path. Walk when the Bear is not visible, sprint during direct pursuit, and stop behind cover only after confirming that the route ahead is clear.
Short movement bursts help you check a corner without committing to a long sprint. Turn in small arcs rather than snapping your camera, because sudden direction changes can make it harder to tell whether you are reacting to a real threat or simply changing rooms.
| Situation | Recommended movement | Main reason |
|---|---|---|
| No confirmed threat | Walk | Preserves stamina and reduces noise |
| Objective nearby | Jog briefly | Reaches cover without a long sprint |
| Bear visible at range | Sprint diagonally | Makes pursuit harder to maintain |
| Bear close behind | Change direction around cover | Prevents a straight chase |
| Entering an unknown room | Pause near the threshold | Prevents walking into the Bear |
| Fully exhausted | Hide if possible | Movement options are severely reduced |
Stamina should never be treated as a meter that must be filled. A stamina reserve is valuable because the moment it disappears, you lose the ability to answer an immediate threat. When you notice heavy breathing, shortened movement, or an empty bar, stop taking optional risks and seek a safe staging point.
Locating Threats Through Sound
Sound is an important part of BEAR’s tension. Footsteps, environmental noises, and objective interactions can reveal where survivors are working. Crouch-walking may still produce audio, so it should be used based on distance and visibility rather than treated as perfect silence.
When you hear movement, compare it with visible information. If the sound is behind a wall, do not sprint toward a doorway merely to investigate. Instead, hold position, note the likely direction, and use the next objective to draw yourself away from the suspected route.
The survival and controls guide expands on movement priorities, useful routes, and common survival errors for new survivors. It also connects keyboard-and-mouse controls with practical scenarios, such as managing limited stamina during sprints, using crouch-walking to reduce visibility, and choosing safer paths around objective zones. This makes it a useful companion for practicing route planning and avoiding mistakes that can expose your position.
Use the minimap as a warning system
The minimap should be checked every few seconds, especially after leaving a building. This does not mean staring at it while moving through dangerous terrain. Instead, glance at it while crossing an open area, then use the information to select the safer of two available paths.
Map discipline means noticing whether teammates are clustered, whether a corridor is occupied, and whether you are about to enter a dead end. The BEAR Alpha map layout overview is particularly useful for learning major landmarks and planning escape routes before a round becomes chaotic.
Bear Alpha Tutorial: Prioritize Objectives Without Getting Trapped
Objectives create purpose, but every interaction can make a survivor easier to locate. The key is not to complete the maximum number of tasks at all costs. A smaller objective plan completed with remaining stamina is better than a fast attempt that leaves you stranded near the Bear.
Choose reachable tasks first
At the start of a round, identify the closest useful objective and commit to it. Avoid crossing the entire map for a task that another survivor can finish. After completing a task, reassess the map rather than automatically heading to the farthest remaining marker.
Before committing, weigh the objective’s likely value against the route cost and your current stamina, because a nearby task may deliver more usable resources than a distant one. For example, if a survivor already owns a generator, you can secure a different nearby generator or collect medical supplies instead of crossing the map for one additional objective. This reduces stamina pressure and keeps you available when teammates need support, while preserving the option to tackle a longer route after the immediate need is covered.
-
Nearby task: Take it when the route is reasonably clear.
-
Medium-distance task: Travel only if your stamina and objective count support it.
-
Remote task: Leave it for later unless it is essential to the round.
-
Contested task: Approach from an unexpected angle or wait for teammates to create a distraction.
-
Trap-heavy task: Complete it early, then move away from the area rather than remaining nearby.
| Objective type | Main risk | Smart response |
|---|---|---|
| Short interaction | Noise draws nearby attention | Finish quickly and relocate |
| Search-style task | Time spent in one area | Set a short limit and move on |
| Multi-stage task | Route becomes predictable | Vary the direction between stages |
| Team task | Players bunch together | Spread out during the final interaction |
| Remote task | Long return journey | Complete before stamina pressure rises |
If a task requires you to remain in an exposed position, announce that information clearly. A simple callout—“I’m completing the generator here for about ten seconds”—is more useful than saying exactly when you will finish. It lets teammates create space without turning every message into a precise beacon.
Do not camp completed objectives
Remaining near a finished task gives the Bear an easy search area. Move at least far enough to create another possible route, ideally toward a landmark that supports multiple exits. This is especially important after noisy tasks because the Bear may already be circling the location.
Rotation after completion is one of the most valuable habits in this bear alpha walkthrough because the Bear uses repeated movement patterns to narrow down likely player positions. A survivor who changes location after each task becomes harder to predict than one who repeatedly returns to a favorite hiding spot. For example, after completing a noisy bear objective, cross toward a nearby landmark, use its walls as cover, and select an exit away from the route just traveled. This rotation disrupts the Bear’s search pattern, gives you several possible escape angles, and reduces the chance that it circles back into the same area during the next encounter.
For detailed task routes and objective-specific advice, consult the BEAR Alpha treasure quest guide. Use those routes to plan a second movement option after each objective: identify a nearby landmark or cover point, avoid retracing the path from the last task, and choose an exit that breaks the Bear Alpha’s search loop. This planning matters because noisy objectives can draw the Bear into the same area, making a pre-selected escape route more valuable than improvising while it is already searching nearby.
Bear Alpha Survival Tactics for Dangerous Situations
Even strong players encounter situations where the Bear has the angle, stamina advantage, or better escape route. For example, if the AI uses cover while circling toward a flank, forcing a head-on rush gives it room to recover stamina between attacks. Read its movement before committing: back away when it gains an opening angle, cut off a retreat path when positioning is safe, and avoid direct confrontation whenever the Bear’s stamina bar remains higher than yours. Survival depends on choosing a response that does not require winning every direct confrontation.
Reacting to a Confirmed Sighting
A confirmed sighting changes the priority immediately. Do not stand still to assess the entire area, because that gives the Bear time to close the distance. Move toward an exit, place a building corner between you and the threat, and use the environment to interrupt the chase.
Corner breaks are especially valuable because they change the chase geometry. Turn around a solid corner instead of weaving in the open. If the Bear follows, use the new sightline to assess whether you can continue, hide, or take a different route. If you cannot, the Bear may already be close enough that hiding is a poor gamble.
When you are caught outside
If a chase begins in an open area, do not sprint in a perfectly straight line. Change direction gradually while maintaining movement, because abrupt movement can waste more stamina than it gains. Use trees, rocks, buildings, or elevation changes as obstacles whenever possible.
The safest response also depends on your condition, especially your Stamina bar and whether a bear has already noticed you. If the chase starts with full Stamina, keep moving toward cover while varying your route; if the bar drops below half, avoid committing to a long sprint, because panic running can leave you exhausted before you reach safety. Watch the bear’s distance and your Stamina together rather than reacting only when it closes in.
-
Fresh stamina: Create distance and reach a route with multiple exits.
-
Moderate stamina: Alternate sprinting and walking to avoid reaching empty too soon.
-
Low stamina: Head for the nearest concealment instead of starting a long sprint.
-
Empty stamina: Stay quiet, break sight, and avoid creating additional noise.
When the Bear is nearby but hidden
Hearing heavy movement or seeing a disturbance does not confirm the Bear’s exact location. Overreacting can expose you, but ignoring a real threat is more dangerous. Freeze briefly, listen, and check the nearest reflection or open sightline before moving.
Disputed ground is any area where you cannot see the exit before entering it. Move slowly through it, stop just before the threshold, and confirm that no Bear model is waiting inside. This habit is slower than sprinting through the same space, but it prevents a direct collision in a confined room.
Player reports on the Hollow quest, including this community quest demonstration, emphasize that route familiarity and breaking sightlines can matter as much as raw speed. Treat these observations as community guidance because the game’s alpha version may change.
Bear Alpha Walkthrough Checklist for Each Round
A simple round checklist helps new survivors avoid the mistakes that end a run early. Use it before the first objective, after every major interaction, and whenever the map state changes. Check your objective status, survivor health, inventory capacity, and remaining supplies, then confirm whether nearby noise has attracted a bear or changed its movement route. For example, if a teammate breaks a prop during an objective, reassess the area before collecting loot, because the extra noise can pull the bear toward the group. Save medical resources for emergency use rather than treating minor damage immediately.
Before moving
Before leaving a safe area, check the map, your stamina, and the nearby sound environment. Identify the next destination and one fallback route. If you are with a group, confirm that someone can watch the direction the group is not facing.
During objectives
While completing an objective, keep the flashlight aimed where you need visibility rather than sweeping it across every surface. Face the expected approach direction when the task permits, and avoid standing with your back to a doorway. If footsteps approach, abandon the interaction without hesitation.
After completing a task
After completing an objective, leave its immediate area. Check the map again and avoid returning to the same cluster of tasks. Choose a route that ends near another landmark, not a blank stretch of ground where the Bear can pin you.
| Round moment | Decision to make | Result of a good choice |
|---|---|---|
| Round start | Which objective is closest | Less stamina spent traveling |
| Mid-round | Which route remains open | Fewer forced encounters |
| Task completion | Where to rotate next | Less predictable movement |
| Low stamina | Where is nearest cover | More room for a recovery mistake |
| Bear sighted | Which exit breaks sight | Stronger pursuit defense |
| Final minute | Is another task worth it | Better ending position |
A separate settings guide for BEAR Alpha can help you adjust performance and accessibility options. Depending on your device, reducing unnecessary visual effects may make threats easier to identify, but gameplay settings should never make you ignore sound or the minimap.
Beginner Errors That Harden Into Habits
Several errors are easy to fix before they become habits. Running toward every noise is the first; it can carry you directly into the Bear. The second is completing several objectives in the same small area, which creates a concentrated trail. The third is hiding immediately after every scare without confirming that the threat moved away.
Another common mistake is following teammates blindly. Grouping can provide safety, but it also creates a large, obvious target. Spread out when possible, communicate directional warnings, and reunite only at useful landmarks. Spread formation makes it less likely that one mistake eliminates multiple survivors at once.
Frequently Asked Questions
How do beginners survive their first night in BEAR (Alpha)?
Beginners survive longer by completing nearby objectives, preserving stamina, and moving to a new area after each task. Break the Bear’s line of sight whenever possible, avoid standing near open doorways, and use the minimap to notice teammates or threats. Most importantly, leave enough stamina to respond if a chase begins.
Should survivors use the flashlight all the time in BEAR (Alpha)?
No. A flashlight can reveal obstacles, objectives, and the Bear, but it may also make you easier to notice. Use short beams around corners and open areas, then turn it off when moving through a location you already understand. If you hear a threat, stop sweeping the light and focus on escape routes instead.
What is the best way to escape the Bear in BEAR (Alpha)?
Use corners and buildings to interrupt direct pursuit rather than relying only on running in a straight line. Keep some stamina in reserve, change direction around solid cover, and choose routes with multiple exits. If your stamina is nearly empty, hiding can be safer than attempting a long sprint, especially when the Bear has not confirmed your location.
Do beginners need to complete every objective in BEAR (Alpha)?
No. A sensible objective plan is more valuable than completing everything at maximum speed. Take nearby tasks, leave remote ones for later, and relocate after each completion. If the map becomes crowded or the Bear patrols a route, pause and reassess rather than forcing every objective into the round.
Is it better to hide or run when the Bear approaches in BEAR (Alpha)?
Run when you have a clear escape route and enough stamina, because movement may prevent the Bear from reaching you. Hide when the Bear has lost direct sight, the area offers concealment, and continued running would leave you exhausted. If the Bear has already seen you, breaking line of sight around cover usually offers better odds than remaining exposed.